Contract Work/Learning Real-time
During the pandemic, I worked multiple projects in standard VFX as well as real time, along with dabbling in websites and logo design. Basically I took anything to keep us fed while I floundered around in the covid job market. Working from home with limited resources and extremely compact schedules was ‘interesting’. It really pushed my creativity and resourcefulness to get the work to an acceptable level of polish without keeping myself up for a week straight. This page was originally a sort of blog as I learned real time, and I leave it up more as a reminder to myself at how far I’ve come with my real-time work.
Real Time
Rocket League
This was a game cinematic piece that was done in Unreal Engine 4.25. I was initially tasked to provide sim work as well as custom textures through Houdini, but very quickly it turned into “OMG help please do anything” as projects often do. It was a trial by fire to learn Unreal Engine so quickly (I had about three weeks) and easily the hardest thing I’ve done since grad school. I’m not gonna lie though, it’s a lot of fun to make effects and have them instantly look like the final product. The assets I created were used by other artists who had to drop them into various Sequencer shots, so the blueprints had pretty robust controls for tweaking.
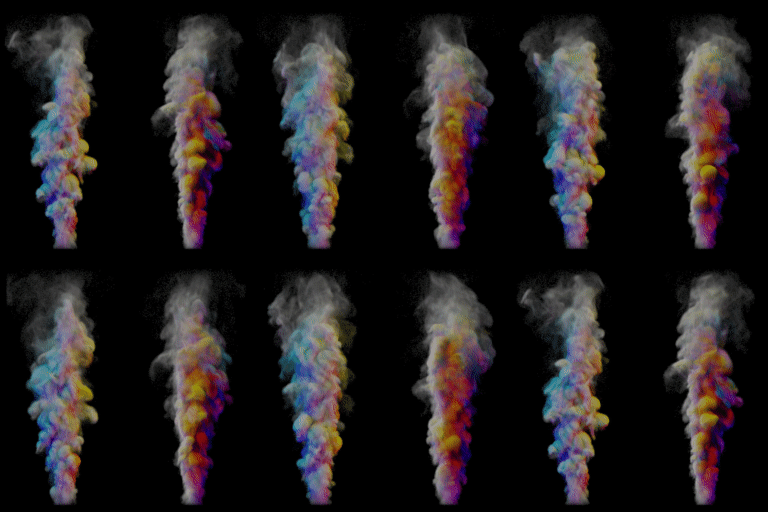
I was told very specifically to make a 'fire onion' coming out of the back of this car.
A fun little task where they needed a beefed of version of the jump boost effect from the game.
We needed a nice smokey tire burn out that also included some debris since the cars drive over grass.
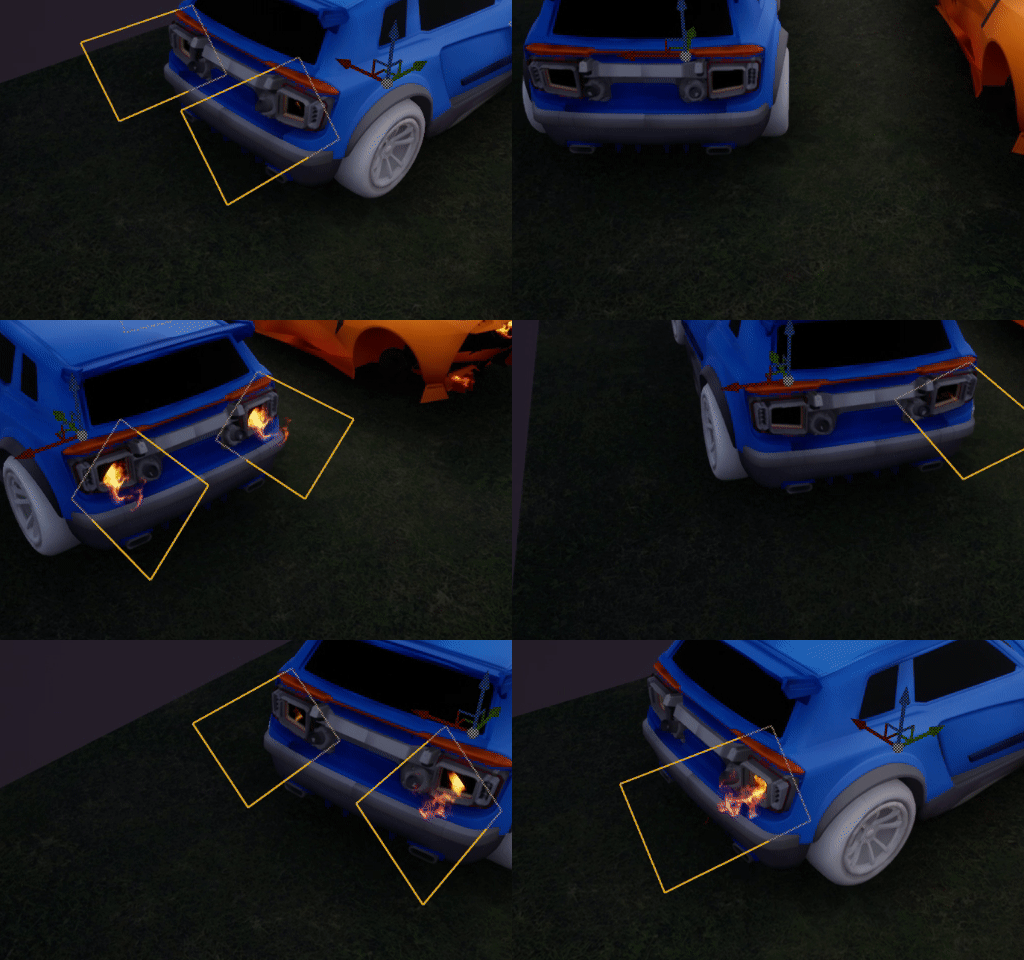
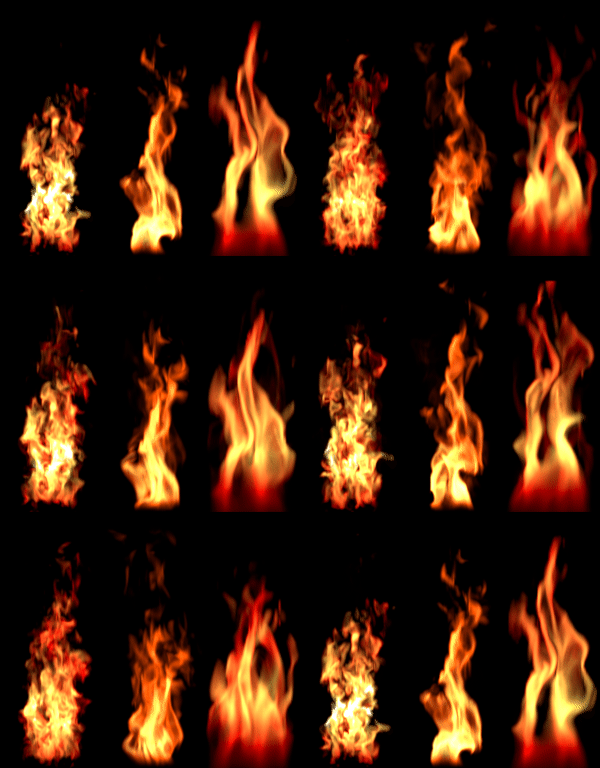
An exhaust flame setup that had to work a on multiple cars. All the textures were custom Houdini renders.
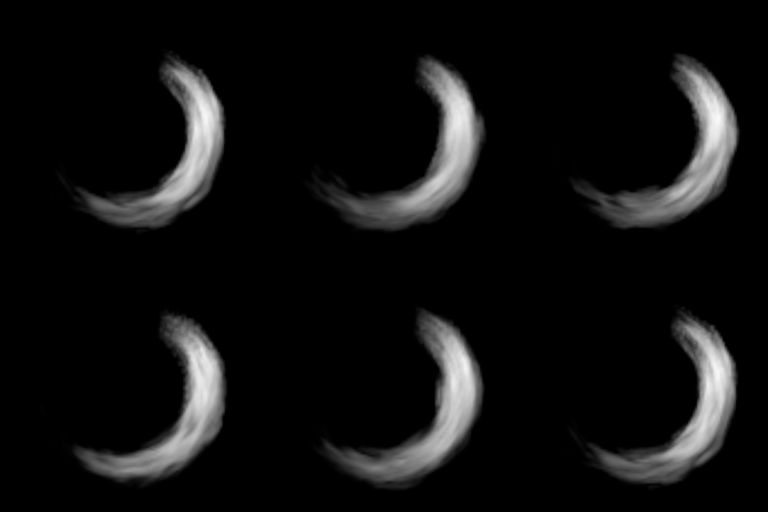
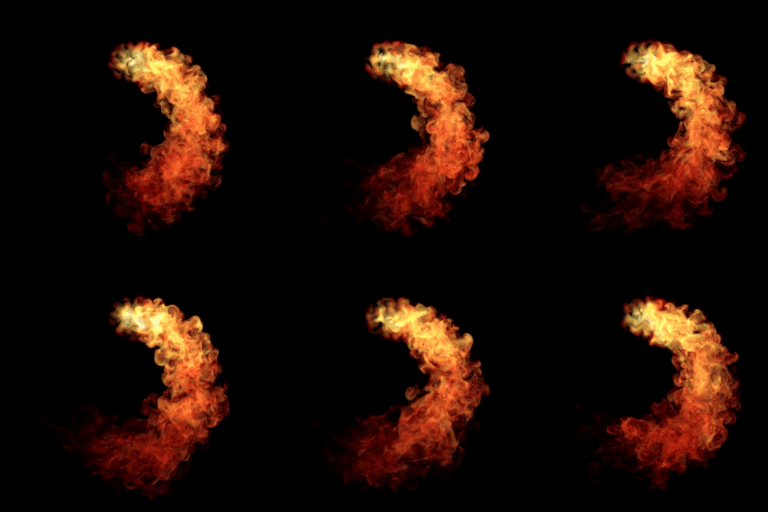
I used a simple cloth setup for the trailing flames that grew/shrank based on the car’s speed.
I tried old school particle clustering in Niagara. It worked relatively well, I used this for some background elements.
I am not used to working with sprites the way you need to in real-time. Since It was an adventure figuring out which kind of renders worked and what didn’t. In general working with slower sims seemed to be a good idea, as re-timing to be faster in UE is extremely straightforward.
Several of the textures were placed on semi-oriented ‘cards’. Based on the effect, the cards rotated on their length to orient to camera, and then their alpha was scaled based on view angle so they would fade into the other elements of the effect.
The real workhorses of real time are the ‘puffs’ though, circular bits of effect that work from every angle. It was challenging getting setups to produce explosive type sims that expanded a bit, but not too much, so they would stay in the bounds of the ortho camera.
GCDS Virtual Catwalk
A quick job for clothing company GCDS where there was a need for some growing plants. The foliage needs to be able to grow very quickly (it fills in as the guests are being seated). I took the opportunity to learn how to rig and animate from scratch in Houdini and port that to UE. The growth of the larger plants was all keyframed, while the smaller were spawned from a Niagara system. Again, all the assets needed to be used by other artists (in Sequencer) so there was a robust amount of exposed parameters. Nothing super innovative, but it gets the job done.
Plant growth @ 3:47
The user positions plane geometry in Editor to specify the location of the ground cover.
A quick scene I threw together to show a use case for the plant assets.
Interview Test
I was asked to do a Howitzer/missile hit for an interview. They limit you to up to 3 2k textures and ask to “keep performance in mind” without being specific about what that meant.
I rendered a simple fireball puff sim that cooled to dissipating smoke and used that for that bulk of the effect. I think ~2000 particles in all for that element.
For the rest of the effect I have some large debris pieces I cut from the truck in Houdini, some embers that were simple circle sprites, and a smaller level of micro debris.
My time was fairly limited so I didn’t really get to push this as hard as I wanted. The individual sprites are too visible, I would have liked to work on the fireball sim more so it wasn’t as circular, maybe even have a few variations of that texture. More lighting on the smoke would have been nice as the shading is too even across it. It could have used a big spikey ‘flash’ element to sell the impact and give it some more punch (a shockwave element would help as well). Also some more inherited velocity from the missile as right now the smoke etc. kind of emits in place. And if I learned anything from Rocket League, HEAT DISTORTION.
Rendered
Rocket League
This explosion was for the pseudo death of the main character. The explosion itself was relatively straight forward vfx (with the usual compensations for strange camera moves). Everything around it was not. Rendering at home, without a farm, is challenging. The best I could manage was 1280x720 for an overnight render. Then there was the issue of getting the frames in UE. I ended up using a MoviePlayer and a post-process volume to overlay the images, but the holdouts from Houdini were always off from the mblur in UE. Thankfully we had a really good compositor who was able leverage my depth pass and general technique, go back and forth from UE to Nuke several times, and make the frames set in with the real-time elements. Did I mention that my graphics card couldn’t handle opening the actual project so I was doing all my work in dev environments? Good times…
Cloud10
The company I was contracting with wanted some VFX over their logo. They pitched smoke/cloud being blown off of it as a reveal, similar to the old Belisarius logo. I had to do some very heavy handed velocity setting on the fluid to get it to evolve so quickly without the usual ‘mushroom cloud’ artifacts. Wrangles are my favorite node in Houdini, I love directly setting voxel/point values.
Martin’s Beach
For this project, I needed to sim the entire shoreline of Martin’s Beach, CA, and pass off that data to a real time environment. The deliverables were a heightmap of the ocean, along with a diffuse map of the foam, rendered from a top down camera. Because of the size and time span of the sim, and the fact that it needed to work relatively well at closeup, I needed a decent amount of resolution in the fluid grid. To make this achievable at home, I broke the sim up into three different ‘strips’, perpendicular to the shore, and blended them together in post. Mercifully, the wave pattern they wanted was very regular, which made the blending easier.
The foam on the wave caps came from the standard ‘beach tank’ FLIP setup, but the shoreline needed to be a custom pop sim as the foam generation did not work for the shore.

